
IP Pool Whitelisting
IP Pool Management allows you to assign specific IPs to users or extensions. You can create, edit, disable, and manage IP pools to ensure controlled access and secure connections.
List of IP Pools
You can view the list of IP pools assigned to users and extensions. You can also select a specific user or extension to view their assigned IP pools.
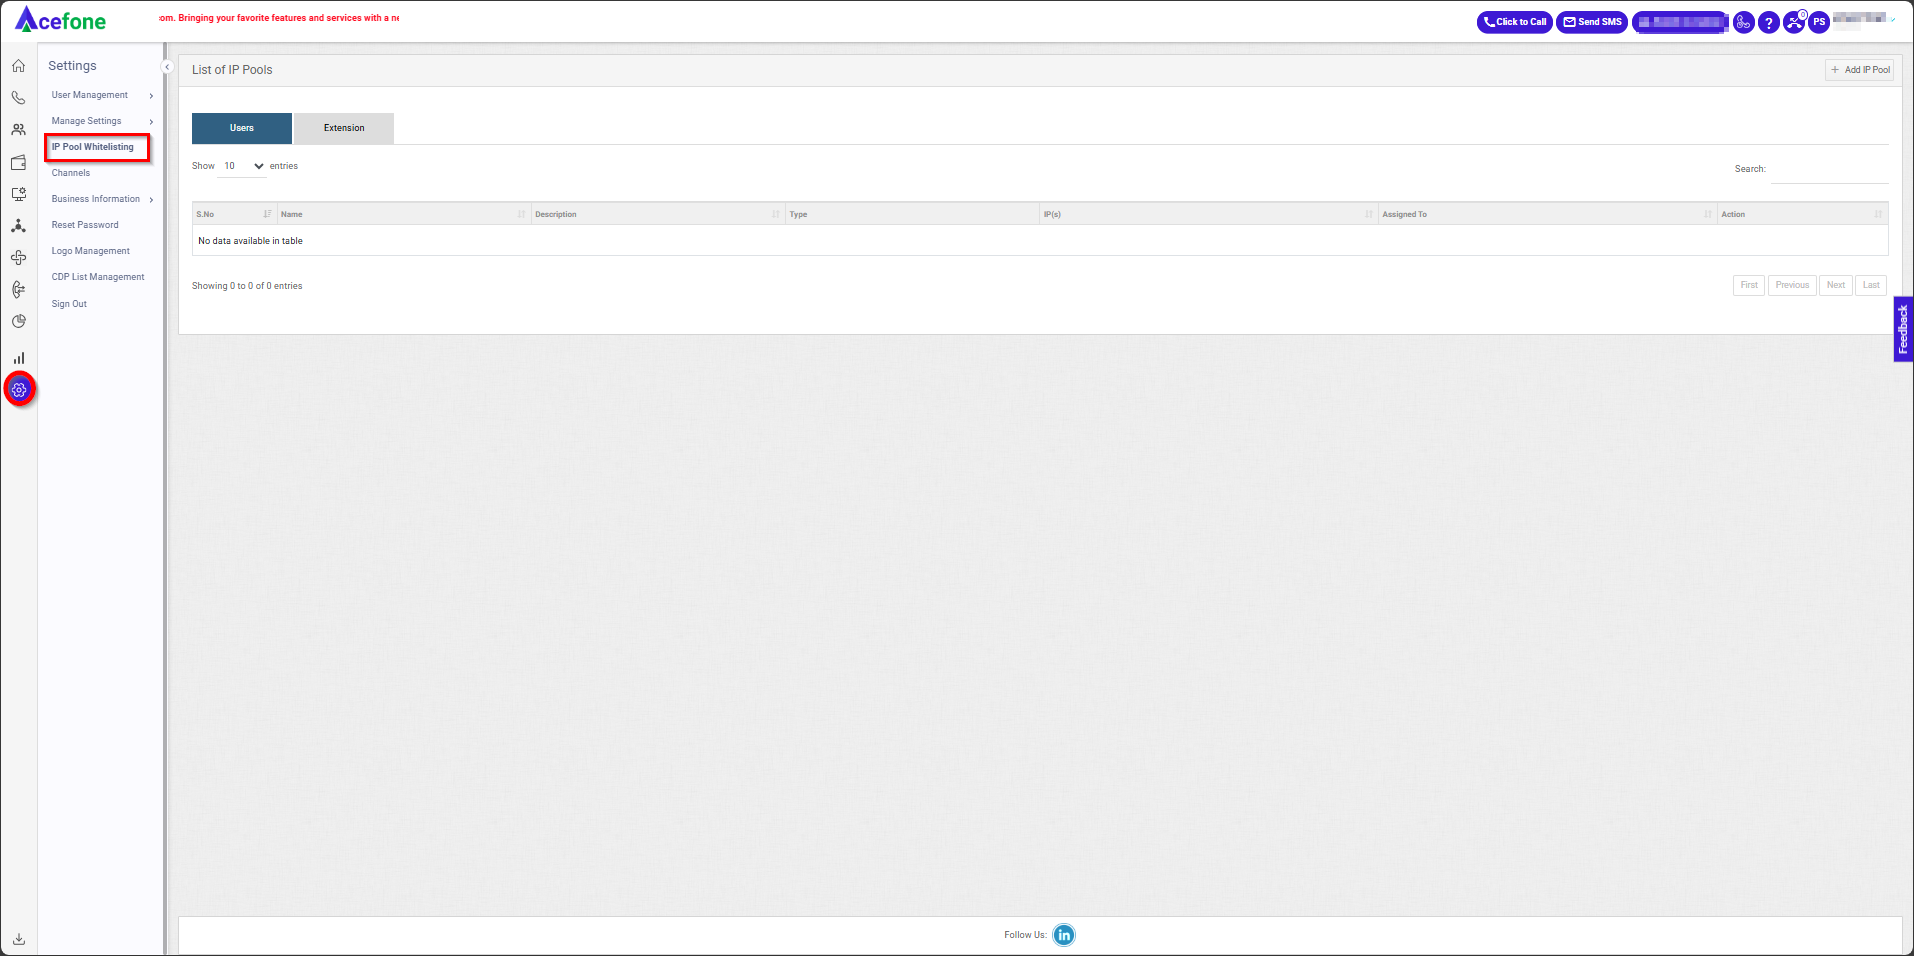
The list of pools consists of the following fields:
| Field | Description |
|---|---|
| Name | The name of the IP pool. |
| Description | A brief description of the IP pool. |
| Type | Specifies whether the pool contains a single IP or multiple IPs. |
| IP(s) | The IP addresses assigned to the pool. |
| Assigned To | The agent/extension or team member/user associated with the pool. |
| Action | Options to edit, disable, and delete. |
Adding an IP Pool
- To add an IP Pool, follow these steps:
- Navigate to Settings > IP Pool Whitelisting.
- Click on Add IP Pool.
- Fill in the following details:
- Name: Enter a unique name for the IP pool.
- Description: Provide a brief description.
- Assigned To: Select either an Agent/Extension or Team Member/User.
- Type:
- Single IP: Assigns one IP address (available for both agents/extensions and team members/users).
- Multiple IPs: Allows multiple IPs separated by commas (only available when assigned to a team member/user).
- Team Members: Select the team members to associate with this IP pool (only available when assigned to a team member/user).
- Enter IPs: Input IPs in the format
192.168.23.22, 192.168.22.45. - IP Mask: Enter the IP mask if applicable.

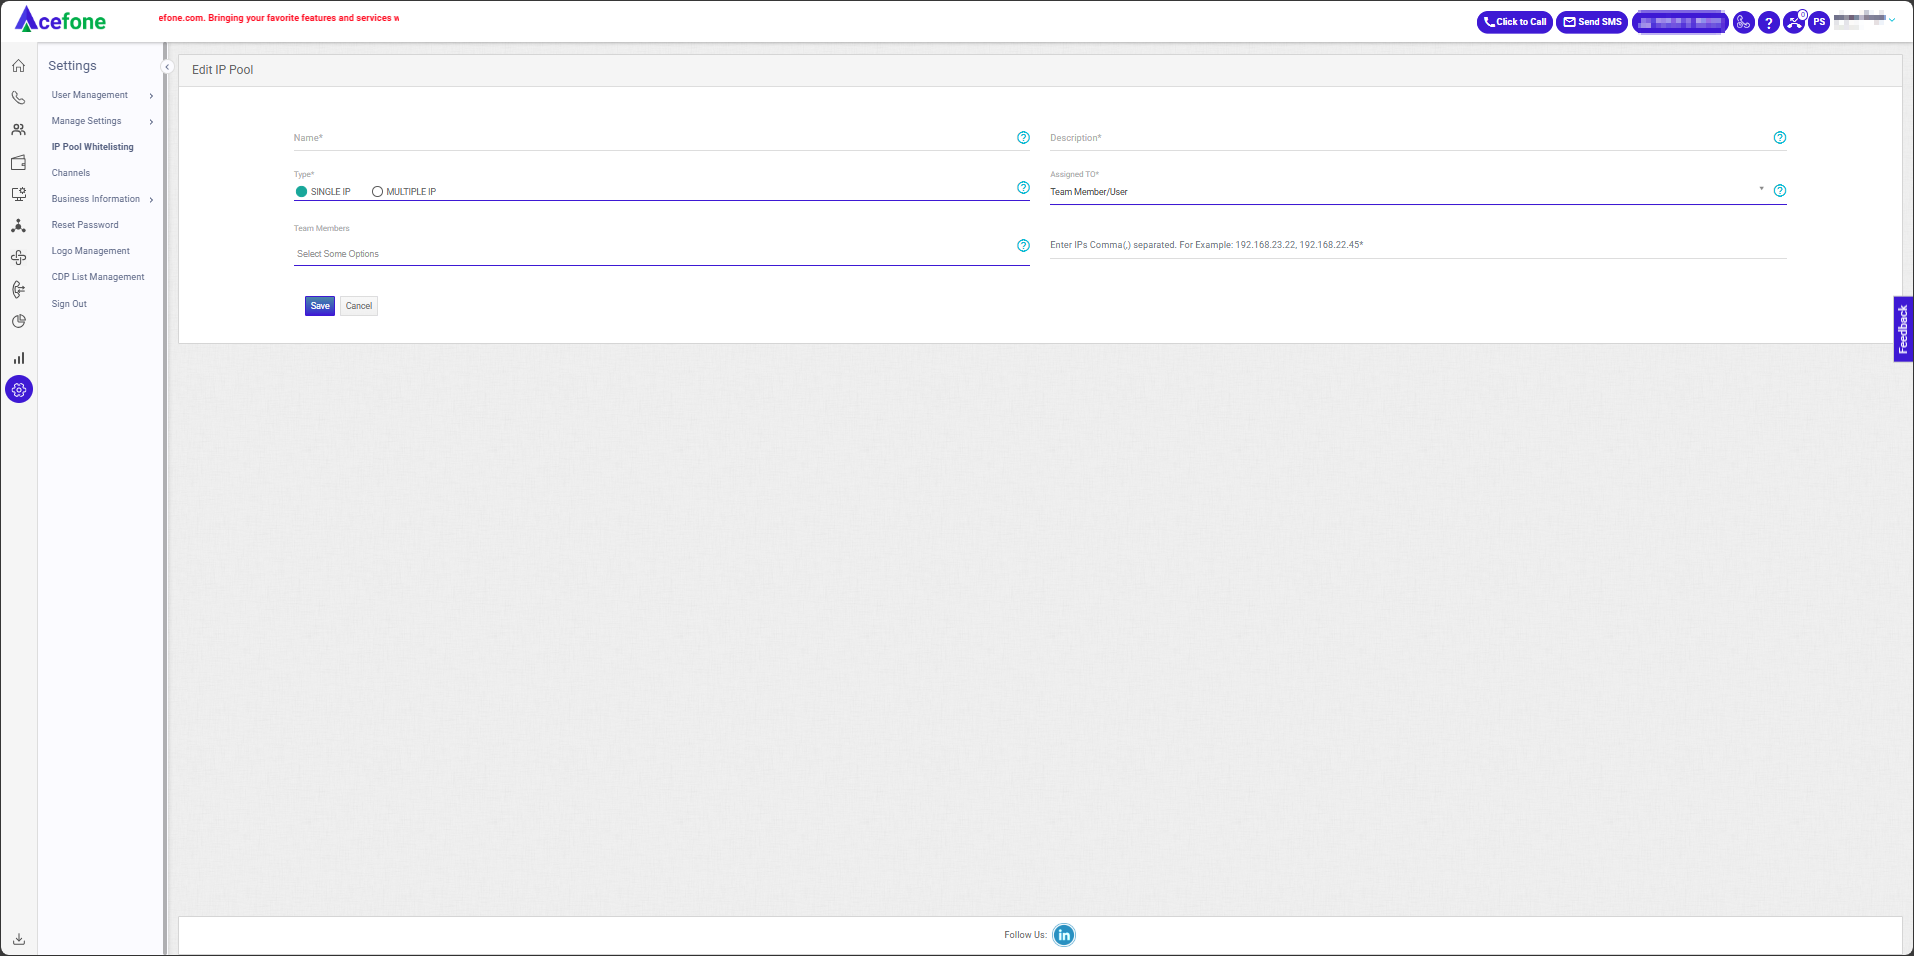
- Click Save to apply changes or Cancel to discard them.
Managing an IP Pool
- To manage an existing IP pool:
- Click on the Edit button next to an IP pool.
- Update the necessary details.
- Click Save to apply changes.
- To delete an IP pool:
- Click on the Delete button next to an IP pool.
- Confirm the deletion.
Updated about 1 year ago